|
First time trying one of my Tutorials? Then please check my Terms of Use before you continue
Make your own Animated Snow
(Preview Smaller than result)
This Tutorial will show you how to make your own Animated Snow and save it as an MNG file
You will need: Paint Shop Pro (any version should work) Animation Shop A Snowflake Brush of your choice - I used ones from Hawksmont Universe These are Photoshop brushes but I just converted them
Filters: Mura's Meister/Copies
Ok let's begin Open a New Image 600x600 or Flood Fill it Black Change your Foreground color to White
Activate your PaintBrush Tool and select you Snowflake Here are the settings I used
Layers> New Raster Layer Left click once in the center of your image ... you should have something like this
(obviously your background will be much larger I cropped for this preview only)
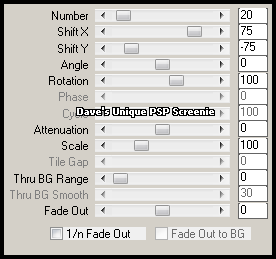
Effects> Mura's Meister> Copies ... *Wall Paper(rotate ) ... with these settings
Edit> Repeat Copies ... now you should have something like this
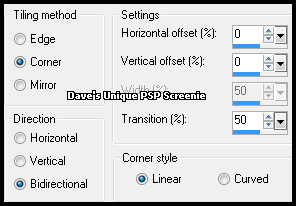
Effects> Image Effects> Seamless Tiling ... with the following settings
Delete the Black layer ... Edit> Copy
ANIMATING
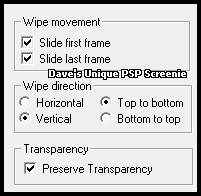
Activate the 1st frame ... Effects> Insert Image Transition
Click on the Customize button
Click OK ... click ok again to apply the effect
Delete the 1st frame (remember to do this or it may look messy) View your Animation ... View> Animation
You may wish to slow down or speed up the Animation ... To do so ... Edit> Select All Animation> Frame Properties ... put in your number (the lower the faster the higher the slower)
Once happy ... File> Save As ... pop in a name and for File Type choose Animation Shop Animation (*.mng)
Abother example: For this one I painted the same snowflake a couple of times with different Opacity
Tutorial written on 14th December 2011 ©David Hanslip |